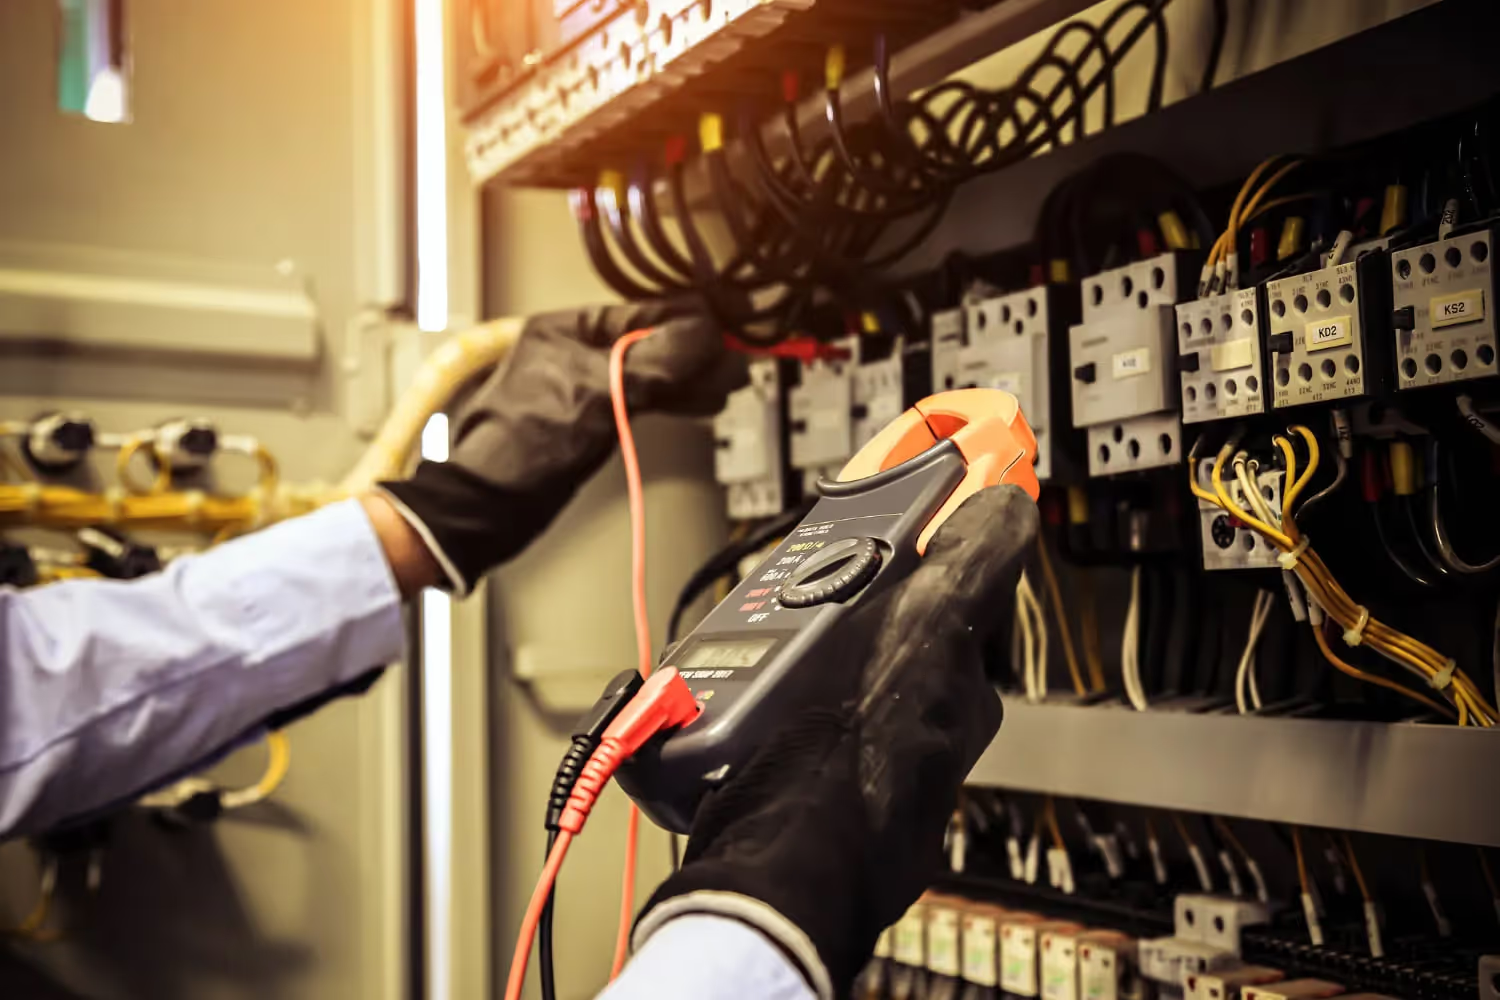
Replacing a worn or outdated light switch is a common beginner electrical project, but electricity demands respect. This guide covers a standard single-pole light switch (one switch controlling one light). Three-way switches, dimmers and smart switches follow similar steps but have extra wires, so always read the product instructions.
Important: Check your local electrical code before starting. Some areas require a licensed electrician or a permit for any electrical work. If you are ever unsure, stop and call a professional.
What you’ll need
- Replacement single-pole switch with the same rating (usually 15A)
- Non-contact voltage tester
- Screwdrivers and needle-nose pliers
- Wire stripper (if wire ends are damaged)
- Masking tape and a marker
Step 1: Turn off the power at the breaker
Switch off the correct breaker in your electrical panel. Flip the light switch to confirm the light no longer turns on. Put tape over the breaker so no one switches it back on while you work.
Step 2: Remove the cover plate and test for voltage
Unscrew the cover plate. Hold the non-contact voltage tester against every wire and terminal in the box. Do not continue unless the tester confirms there is no power. Some boxes contain wires from more than one circuit.
Step 3: Pull out the switch and label the wires
Remove the mounting screws and gently pull the switch out of the box. A single-pole switch has two terminal screws plus a green ground screw. Take a photo and label the wires with tape before disconnecting them.
Step 4: Connect the new switch
Connect the ground wire (bare copper or green) to the green screw. Connect the two remaining wires to the brass terminal screws, wrapping each wire clockwise under the screw head and tightening firmly. Do not use push-in “backstab” holes if screw terminals are available.
Step 5: Reinstall and test
Fold the wires neatly back into the box, screw the switch in place with “ON” facing up, and reinstall the cover plate. Restore power at the breaker and test the switch.
Stop and call a licensed electrician if you see:
- Aluminum wiring, cloth-covered wiring or no ground wire
- Scorch marks, melted insulation or a burning smell
- More wires than expected or wires you can’t identify
- A breaker that trips immediately when power is restored
Single-Pole vs. Three-Way Switches
A single-pole switch controls a light from one location and has two brass screws plus a ground. A three-way switch works with a second switch, such as at the top and bottom of stairs, and has an extra dark “common” screw. If you open the box and see three wires plus a ground on the switch, you likely have a three-way. Label each wire carefully and match the new switch exactly.
Upgrading to a Dimmer or Smart Switch
Dimmers and smart switches are popular upgrades. Check that the dimmer is compatible with your bulbs, especially LEDs, or they may flicker or buzz. Many smart switches need a neutral wire, usually white, in the box. If yours doesn’t have one, choose a model designed for no-neutral installations or ask an electrician.
Tools That Make Electrical Work Safer
A non-contact voltage tester is the one tool you should never skip. Insulated screwdrivers add extra protection, and a headlamp keeps your hands free in a dark box. Our essential DIY tool kit lists the basics, and our drill bit guide helps if you’re mounting new boxes.
Doing small electrical jobs yourself can save money, but safety always comes first. Explore more beginner-friendly DIY guides or contact us with questions.